Well, here it is, the LONG overdue update!
January to the present (May)… dates uncertain, I guess I should update this more often so I can get the dates right!
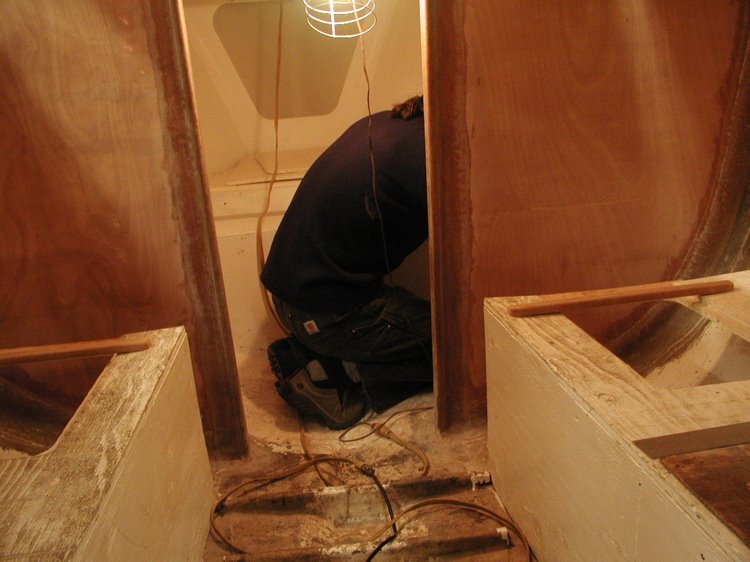
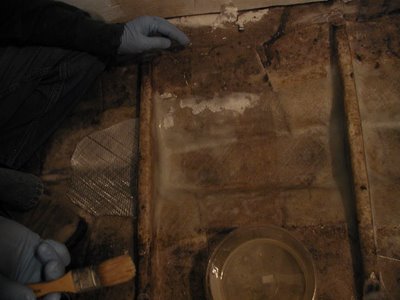
We glassed over the mahogany reinforcements on the edges of the bulkheads (the doorway leading into the V-berth). Next, we fastened some mahogany cleats to the forward and aft sides of the bulkheads to fasten the bunks to. They were rounded on the bottom edge with a router, epoxied and screwed to the bulkheads, and the holes plugged. Then we gave the bulkheads and all their glass work a coat of resin. They look great.

Here they are just before the final coat of epoxy.
The Keel…
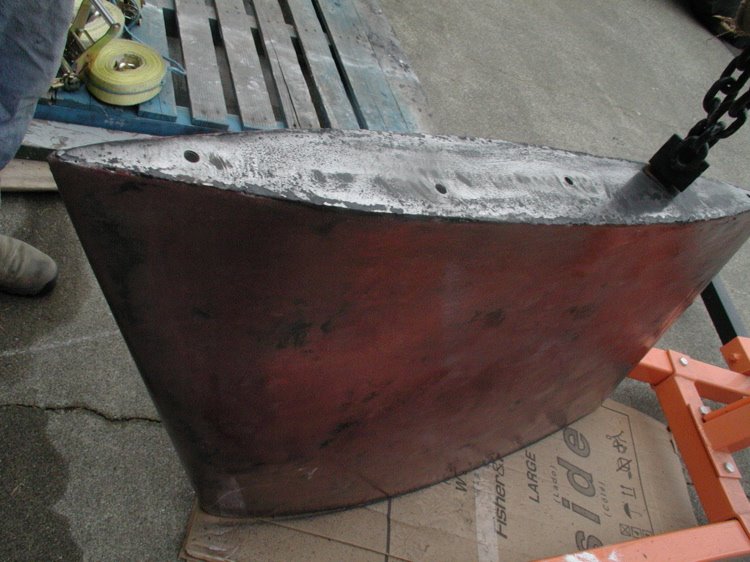
My dad has an engine hoist that was pressed into service for manouvering the keel while we had it inside for fairing. The surface of the keel was extremely rough, partly, I think, from poor casting quality, partly from years of corrosion. When we had it sandblasted, we also had it powdercoated, kind of as a primer layer. We could have had them leave it bare, but it was nice to not have to worry about getting resin on it immediately after the sandblasting. In fact, it waited a couple weeks. The powdercoat stuck very well, is very durable, and the epoxy sticks to it very well.
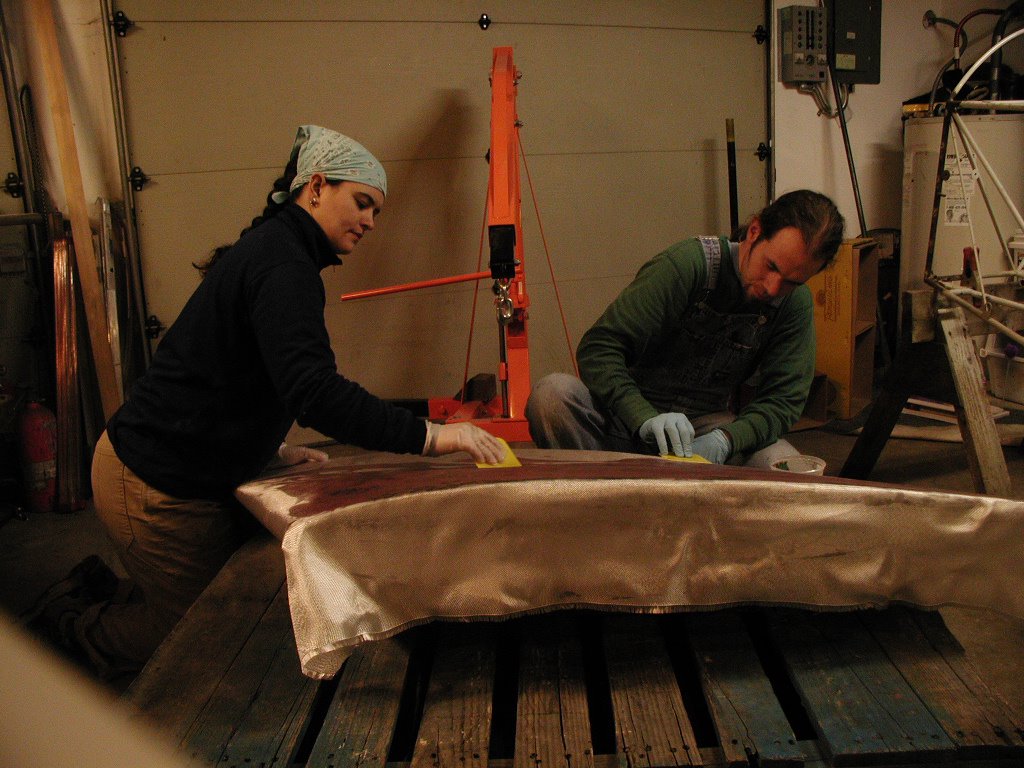
I gave it a good scrub with a wire brush, wiped it down with acetone, and then we brushed on a layer of unthickened resin, working it well down into all the rough spots in the casting. Next, we spread on a thick layer of resin thickened with phenolic micro-balloons. The micro-balloons are more expensive than some other fillers, but they make a very easy to sand fairing compound. We discovered the Fiberglass Supply has them for about half the price I found them anywhere else.
When the resin was dry, the sanding began. We used faring sheets available from the autopaint store. Rather than buying a fairing board to stick them to, I made one from a piece of 3/16 plywood with a couple chunks of broom handle screwed to it for handles. I think there is a photo of it in one of the rudder pictures. Each side of the keel required three applications of fairing compound, and three sanding sessions.
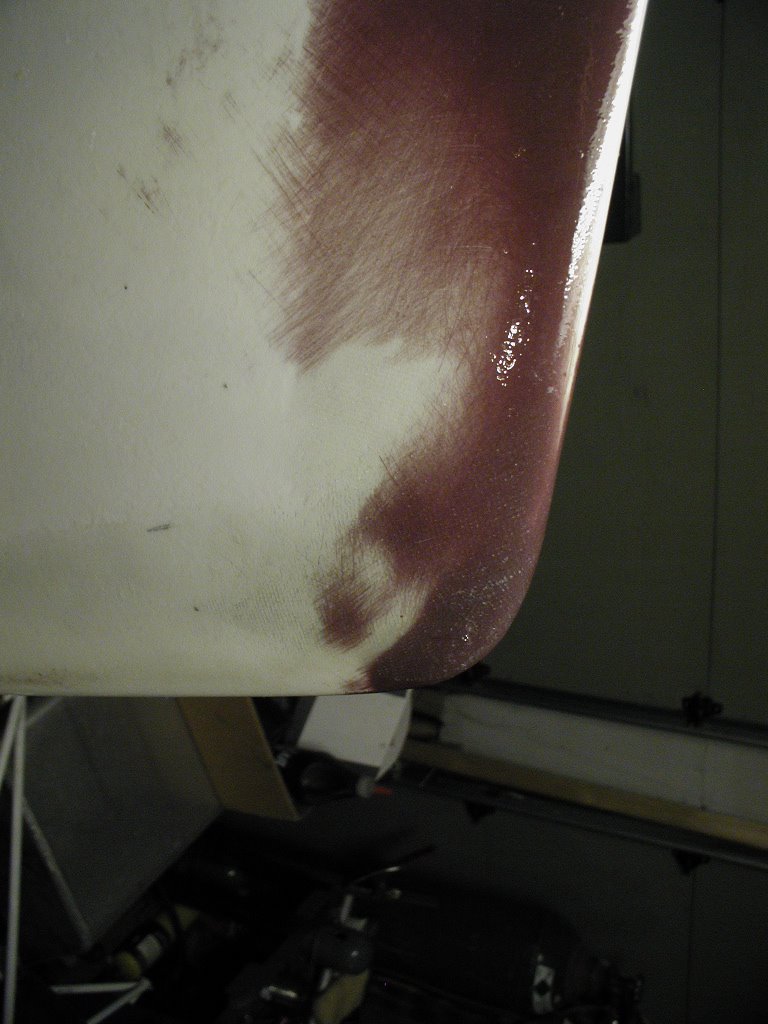
I figured that the bottom of the keel should be faired with something harder than the micro-balloons because it will sometimes be sitting on a hard surface, when the boat is hauled out, trailered, etc. So for the bottom, we mixed resin with cab-o-sil, or colloidal silica. This cures into an extrememly hard finished project. The bottom aft corner of the casting was broken off, and I used the same mixture to re-create this corner. Here it is:
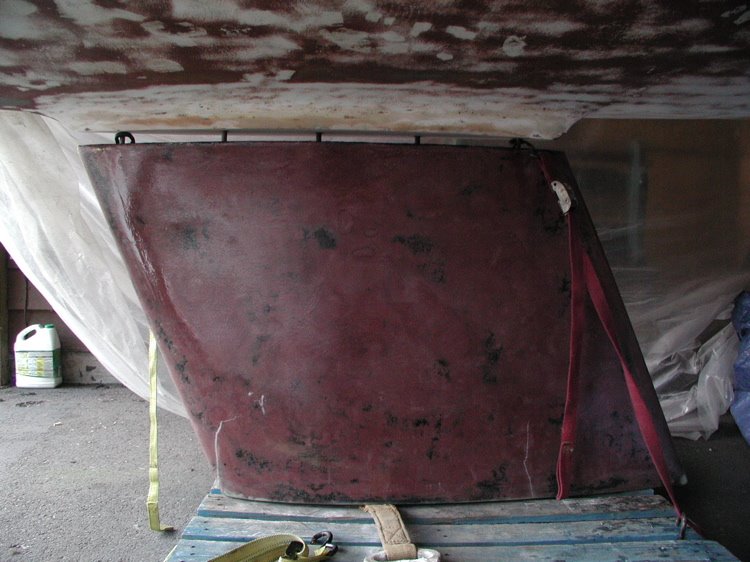
When all the fairing was done, we put on two layers of tooling cloth. This was done with the keel laying on its side, one side at a time (see photo below from January 28). The cloth overlaps on the bottom, the leading edge, and the trailing edge \, giving the all the potential high stress areas four layers. We wet the surface with resin, layed dry cloth over the surface and smoothed it, then finished wetting out the cloth by pooring resin on it and spreading it with squeegees. Both layers were done at the same time. When both sides were glassed, I suspended the keel from the engine hoist and added one more coat of resin to it.
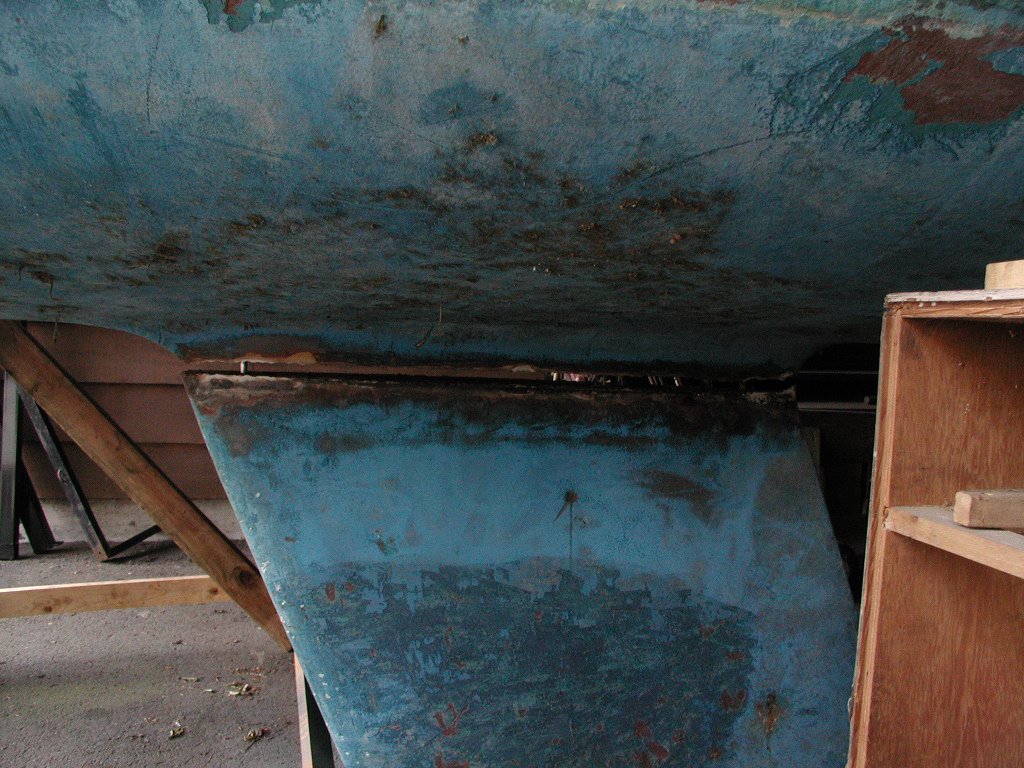
Prepping the hull for keel installation:
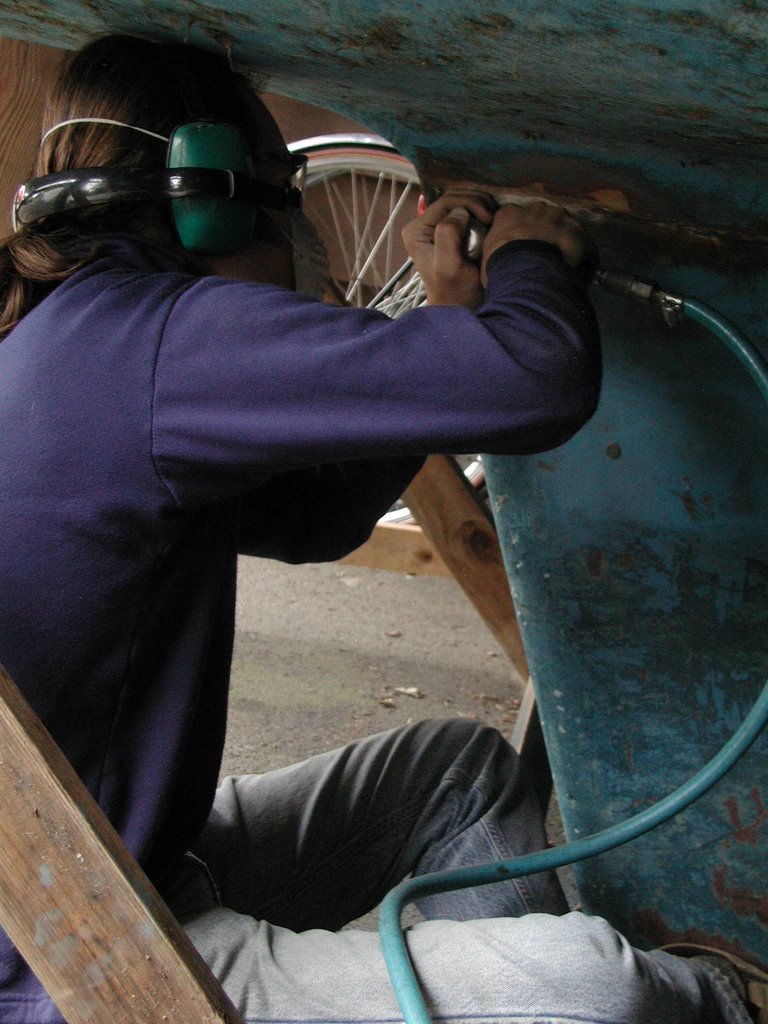
The keel stub was in pretty good shape, especially the outside. I sanded off the old bedding compound, or what was left of it, exposing clean white gel-coat. The inside was another matter. There are three side to side reinforcing stringers or ribs, originally 3/4 inch plywood covered with a couple layers of chopped strand mat. Unfortunately, the ends were not sealed, and there were a couple spots near the middle where water got in too. Needless to say, the plywood was mostly powder.
It took a couple hours to get everything clean enough to put resin on it. I made a fillet of resin thickened with milled fibers along each edge of each stringer, and covered it with biax, then a layer of tooling cloth. There were a couple of other spots I reinforced while I was at it, and I sealed the ends of the stringers.
The keel bolt holes are covered over here with a couple layers of tooling cloth and biax, but if you look closely, you can see them.
Bedding the Keel:
We jacked up the keel with the engine hoist and rolled the whole works outside.


There, we set the keel down on a piece of cardboard and attacked the top with a disc grinder to expose bare steel. When the top (bedding) face of the keel was clean, we bolted a sling to it and carried it over in front of the boat with the backhoe. We set the keel, lined up with the boat, on a pallet, which in turn was on pipe rollers. With a couple of motorcycle tie down straps, we secured the keel in an upright position and then rolled it under the hull, which was hanging from the rafters of the shed.

To aid in the bedding operation and lining everything up, we put some pieces of threaded rod in the keel bolt holes. Once the keel was in place under the hull and we had lowered the hull enough to be certain everything was going to line up right, we mixed a small batch of resin and worked it into the top of the keel with scotchbrite. Then we mixed a larger batch thickened with milled fibers and cab-o-sil and spread it liberally on the bedding surface.
Now the fun part! Lowering the hull onto the keel! We knew that originally the keel was off to one side a degree or two, so before putting it in place we rigged a system we could use to apply side to side force to the bottom of the keel in relation to the hull. We placed a large nylon sling under the keel and ran ratchet straps from the sling up through the windows in the cabin. By putting more tension on one strap or the other, we could easily line up the keel with the center line of the boat.

We lightly tightened the nuts on the temporary keel bolts, put plastic around the outside of the hull and put the heater on.
After a few days of cure time, we came back to inspect the results. Things looked great. The original keel bolts were just pieces of threaded rod screwed into the top of the keel. Large washers were placed inside the boat and nuts were tightened down on them. One of the problems with this is that it leaves threads exposed in the hull where the bolts pass through. The threaded surface is more susceptible to corrosion than a smooth surface would be. Also, the threaded rod isn’t very strong. We decided to use grade 8 bolts instead. I also didn’t feel like the washers were sufficient, so I made large steel backing plates for the bolts and bedded them in the same epoxy mixture we bedded the keel in.

One at a time we removed the temporary bolts and measured the depth of the holes, both the threaded part in the keel, and the non threaded part in the hull. From these measurements we could get bolts just the right length for each hole. The bolts were installed with Loctite and epoxy was pumped in around the smooth portion of the bolts with a syringe to fill the slightly oversized holes in the hull. After the bolts were torqued down tight, we painted three coats of resin over them to seal out water.
On the outside of the boat, we sanded off the bedding compound that had squeezed out and then faired the keel to hull joint with resin and micro balloons. Over that, we put two layers of tooling cloth and another sealing coat of epoxy.
The Rudder Tube:
Originally, the rudder tube was a piece of heavy copper tubing about 18 inches long, glassed into the hull. The top of the tube is above the water line so water doesn’t get in the boat. The rudder shaft goes up through the tube, then through a stainless fitting in the cockpit and the tiller attaches to the top with a bronze fitting. The old rudder tube was worn out, so we removed it. Finding a suitable piece of copper tubing to replace it with was a bit of an adventure and required a trip to Seattle, as well as a rather painful cash outlay.
Anyway, the new rudder tube doesn’t end in midair inside the boat like the old one. I elarged the hole in the stainless cockpit fitting to match the outside diameter of the rudder tube and we ran it from the bottom of the hull, all the way up through the cockpit fitting. The bronze clamp which holds the tiller bears directly against the end of the new rudder tube.
Stripping the Hardware:
We spent an entire day removing cleats, bow and stern pulpit, lifeline stanchions, etc. Most of the fasteners were mismatched, some were badly corroded, and nothing had a backing plate behind it. There are extra holes in lots of places where other things have been mounted over the years. Filling the extra holes, making backing plates, and re-fastenening all the hardware will be a large project, but luckily it can be taken in small bites.
 Ken aloft in San Diego
 Full sails in light air on the way to Mexico
 Working the foredeck. Mmm, this sailtie is yummy!
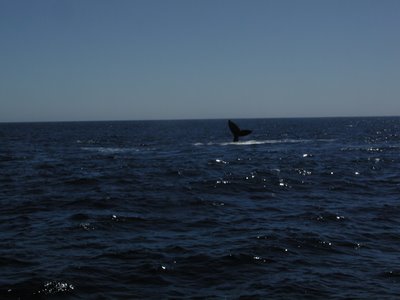 Whales playing not far from Cabo San Lucas. We sailed quite near to them, what a rush!
 Sailing the Tinker. This is a quick little boat in a good breeze!
 Mangrove tree across the bay from downtown La Paz. Pretty novel to have barnacles on tree roots...
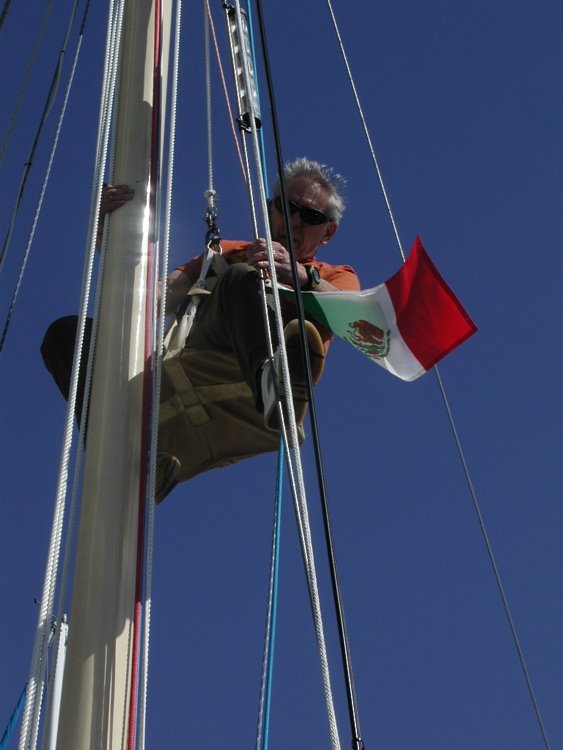 Ken aloft in San Diego
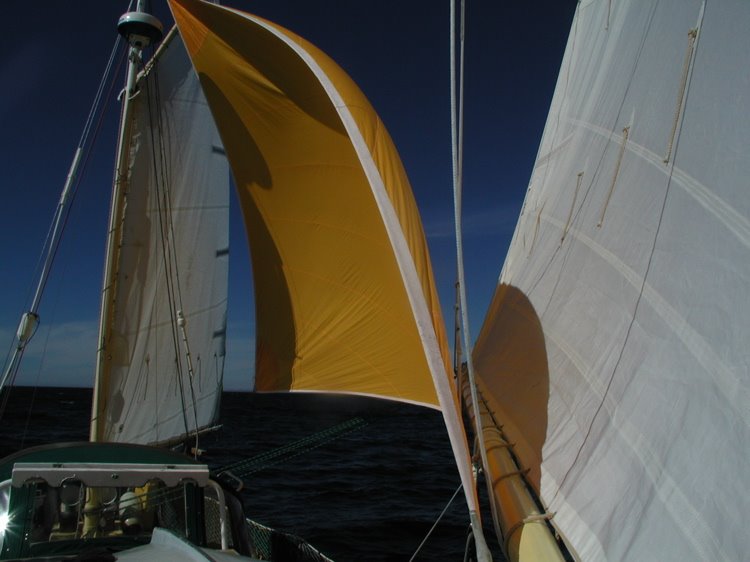 Full sails in light air on the way to Mexico
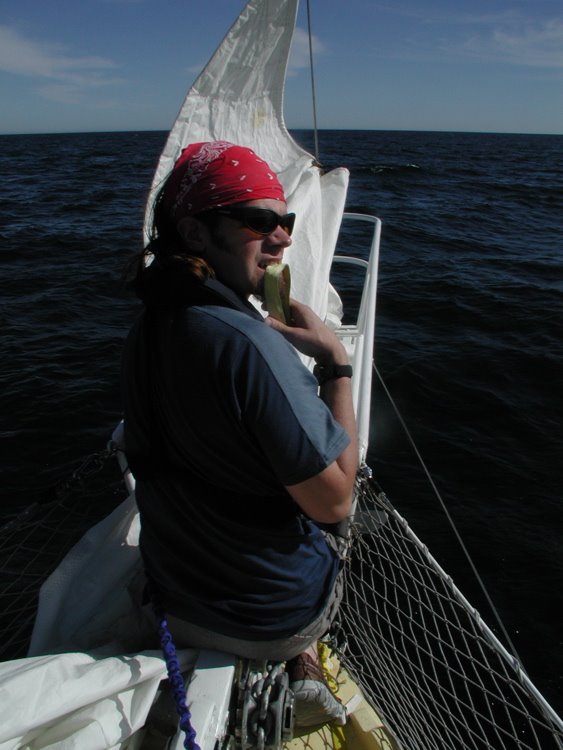 Working the foredeck. Mmm, this sailtie is yummy!
 Whales playing not far from Cabo San Lucas. We sailed quite near to them, what a rush!
 Sailing the Tinker. This is a quick little boat in a good breeze!
 Mangrove tree across the bay from downtown La Paz. Pretty novel to have barnacles on tree roots...