Rudder and more bulkhead work:
December 25
Merry Christmas! We took the morning off and went for a bicycle ride with friends.
Heather removed all the hardware from the boom and stripped the paint a couple weeks ago. It’s in good shape and all the hardware came off e are aluminum. The spreaders are just sections of aluminum tubing with a plug in each end. We'll probably replace them, since the old ones are badly corroded.
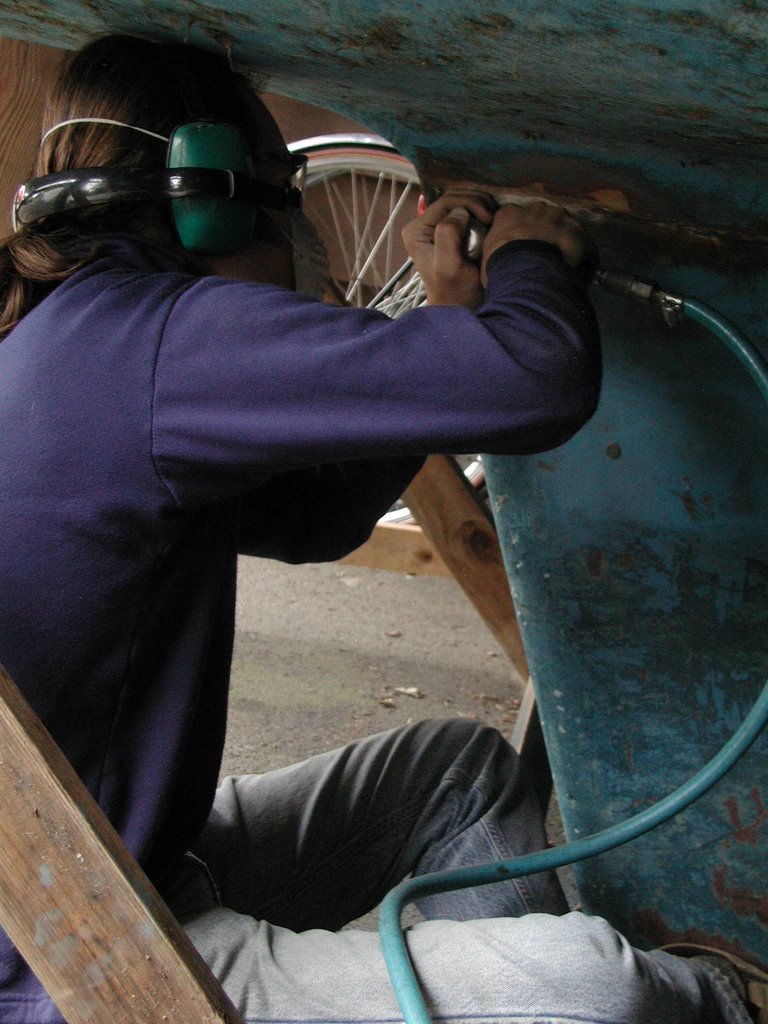
We had a nasty cold snap (as low as 13degrees F) so Corey decided it was time to work on the rudder because most of that could be done inside. He made a sanding board and used it to attack the remaining bits of bottom paint with 36grit sandpaper, and realized the surface was far from fair.
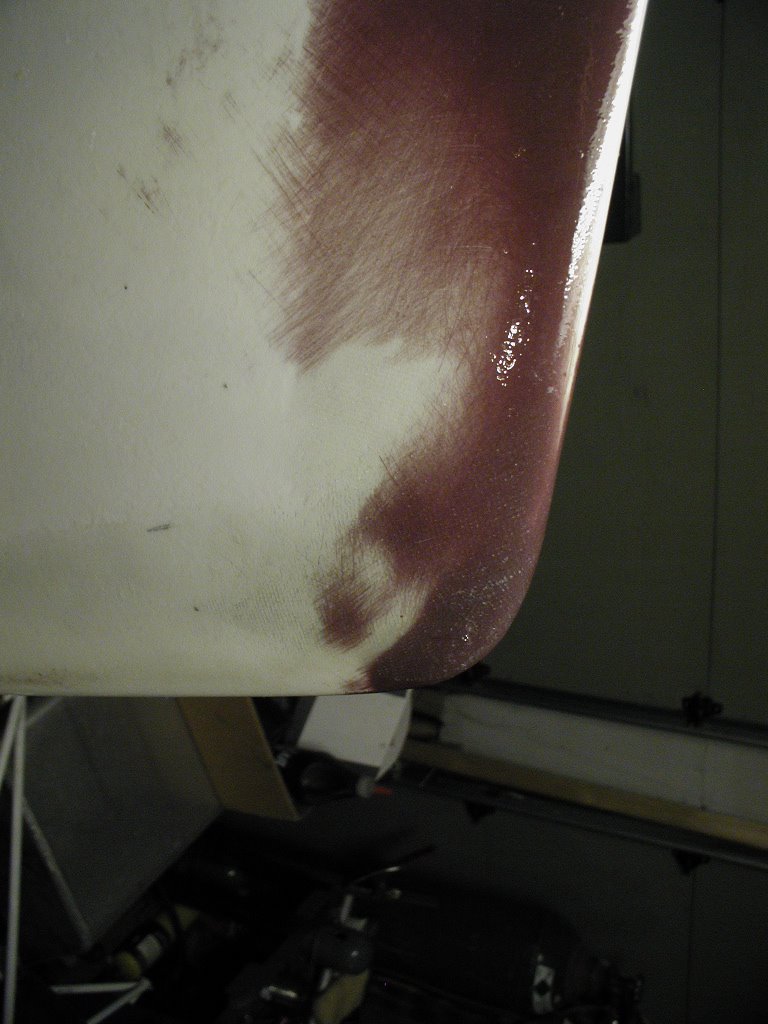
The foot was gouged all the way into the foam core at the leading edge from some sort of impact, and there were a few spots delaminating along the trailing edge. The gel coat was discolored and cracked at the shaft.

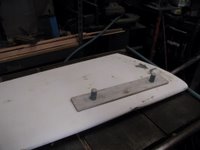
Corey ground away all the damaged area and feathered the edges with a die grinder and a disc sander, then filled them in with a mixture of MAS Flag resin, cab-o-sil, and micro balloons, and filled in the low spots on the surface. When it was hard enough to sand, he faired the whole thing with 36grit paper on the sanding board, then added more fairing compound to the remaining low spots and sanded again with 80grit paper. He also, almost as an afterthought, put one layer of 6oz fiberglass cloth down the leading edge and along the foot, as well as four layers around the shaft. The whole thing was coated with unthickened MAS resin. Unfortunately the finish was horrible. Forty-five degrees is enough for bonding and fairing, but it doesn’t do it for clear coat. According to MAS’ own literature, the temperature should be at least 65 degrees for clear coating. Turning up the heat for subsequent coats helped a lot.
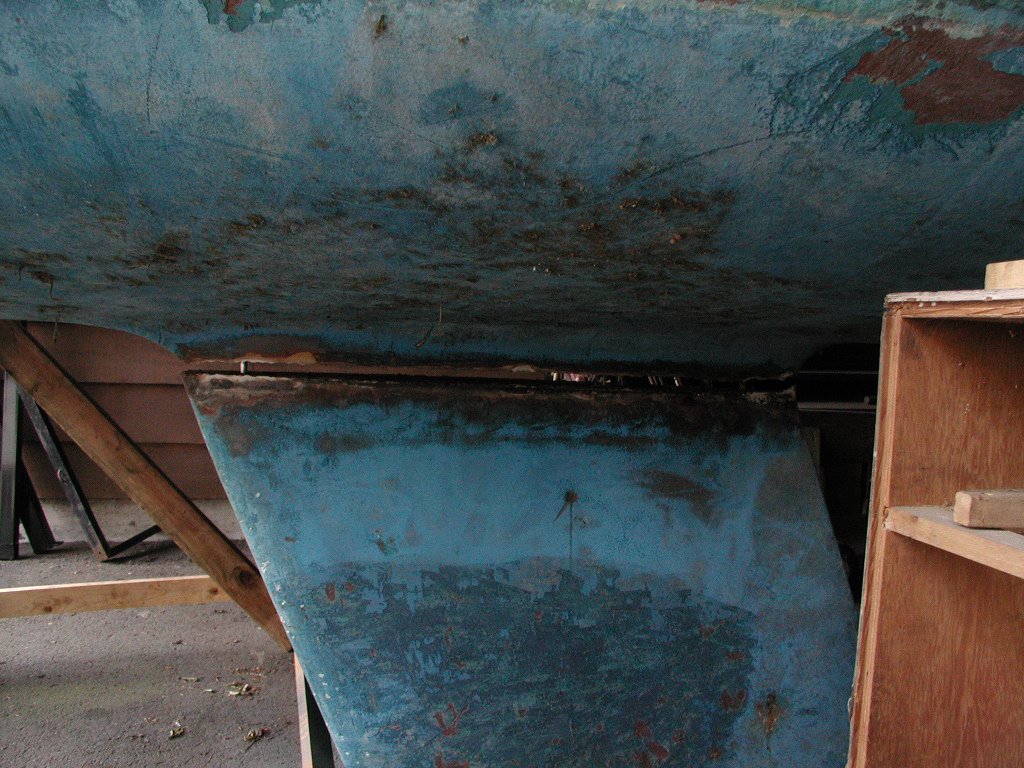
Today (Hey, I’m up to the present!!!!) we began glassing in the bulkheads. We had already glued them in place with Flag resin, thickened with wood flour and cab-o-sil. Made up some more of the same mixture and formed it into large fillets at the edge of the bulkheads. Joel Mill suggests on his website that the glass be laid down while the fillets are still soft, this is excellent advice because it means that any imperfections in the fillet can be smoothed out through the glass, and that the surface of the fillet will conform to the texture of the glass. We used one layer of biax and followed it with two layers of 6oz tooling cloth.
We wet out the two layers of tooling cloth together on a piece of cardboard and put them on at the same time, which was a little bit of a problem. Up to now, we have only used medium hardener with our resin because it hasn’t been very warm. The tooling cloth is harder to smooth out than the biax, and we used wider pieces, which made the problem worse. Corey was extremely frustrated and afraid he would have to remove the tooling cloth layers and start over, as was Heather, although she seemed to be in much better humor than Corey… Anyway, we succeeded in getting the laminate to lie down. In the future we will use the slow hardener for this operation and things should go a little better.
Merry Christmas! We took the morning off and went for a bicycle ride with friends.
Heather removed all the hardware from the boom and stripped the paint a couple weeks ago. It’s in good shape and all the hardware came off e are aluminum. The spreaders are just sections of aluminum tubing with a plug in each end. We'll probably replace them, since the old ones are badly corroded.
We had a nasty cold snap (as low as 13degrees F) so Corey decided it was time to work on the rudder because most of that could be done inside. He made a sanding board and used it to attack the remaining bits of bottom paint with 36grit sandpaper, and realized the surface was far from fair.

The foot was gouged all the way into the foam core at the leading edge from some sort of impact, and there were a few spots delaminating along the trailing edge. The gel coat was discolored and cracked at the shaft.
Corey ground away all the damaged area and feathered the edges with a die grinder and a disc sander, then filled them in with a mixture of MAS Flag resin, cab-o-sil, and micro balloons, and filled in the low spots on the surface. When it was hard enough to sand, he faired the whole thing with 36grit paper on the sanding board, then added more fairing compound to the remaining low spots and sanded again with 80grit paper. He also, almost as an afterthought, put one layer of 6oz fiberglass cloth down the leading edge and along the foot, as well as four layers around the shaft. The whole thing was coated with unthickened MAS resin. Unfortunately the finish was horrible. Forty-five degrees is enough for bonding and fairing, but it doesn’t do it for clear coat. According to MAS’ own literature, the temperature should be at least 65 degrees for clear coating. Turning up the heat for subsequent coats helped a lot.
Today (Hey, I’m up to the present!!!!) we began glassing in the bulkheads. We had already glued them in place with Flag resin, thickened with wood flour and cab-o-sil. Made up some more of the same mixture and formed it into large fillets at the edge of the bulkheads. Joel Mill suggests on his website that the glass be laid down while the fillets are still soft, this is excellent advice because it means that any imperfections in the fillet can be smoothed out through the glass, and that the surface of the fillet will conform to the texture of the glass. We used one layer of biax and followed it with two layers of 6oz tooling cloth.
We wet out the two layers of tooling cloth together on a piece of cardboard and put them on at the same time, which was a little bit of a problem. Up to now, we have only used medium hardener with our resin because it hasn’t been very warm. The tooling cloth is harder to smooth out than the biax, and we used wider pieces, which made the problem worse. Corey was extremely frustrated and afraid he would have to remove the tooling cloth layers and start over, as was Heather, although she seemed to be in much better humor than Corey… Anyway, we succeeded in getting the laminate to lie down. In the future we will use the slow hardener for this operation and things should go a little better.
posted by columbia22 at 4:41 PM
4 comments
![]()